How can we help?
Welcome to our Support Portal. Search for answers using the search box below, or create a support ticket if you cannot find your answer.
-
Repairing a Lamp?
-
Product Info
-
-
- Installing Arditi Brand Metal E27 Lampholder's
- How to unlock my ES & SES Lampholder
- Installing Arditi Brand Plastic E27 lampholder's
- How to install our push fit E27 and E14 lampholders
- Wiring an E27 Pull cord Lampholder
- Wiring an E27 Switched Lampholder
- Installing S.Lilley Brand Metal E27 Lampholders
- How to Install our Lampholder Cup and Cord Grip
- Lampholder Bases explained
-
- Wiring A BC Un-Switched Lampholder
- Wiring An S.Lilley BC Switched Lampholder
- Wiring a Plastic BC Lampholder
- Installing the 40mm BC 4 Part Lampholder
- Wiring the BC Push Wire Plastic Snap on Cap Lampholder
- Safer switched lampholder not working
- Aligning a BC Unswitched Lampholder
- Lampholder Bases explained
-
-
- Kit 33 Installation Guide
- Kit 17 Installation Guide - ES Version
- Kit 32 Installation Guide
- Kit 21 Installation Guide
- Ceramic Side Entry Wiring Kit with a ES | E27 | Edison Screw Lampholder
- Ceramic Side Entry Wiring Kit with Unswitched BC | B22 Lampholder
- Kit 18 Installation Guide
- Kit 15 Installation Guide
- Kit 35 Installation Guide
- Plastic Wooden Table Lamp Fixing Kit With Backplate and Cover - BC Version
- Plastic Wooden Table Lamp Fixing Kit With Wood Nipple – BC Version
- Kit 12 Installation Guide
- Kit 11 Installation Guide
- Kit 8 Installation Guide
- Kit 1 Installation Guide
- Kit 21 Components
- Show Remaining Articles ( 1 ) Collapse Articles
-
-
Creating a Lamp?
-
- How to fix or install a lampholder onto a ceramic item with limited hand access.
- How to turn a bottle into a light fitting
- Measuring Bottle Hole For Bung Size
- Converting a Hong Kong Paraffin Lamp into a Table lamp
- Installing our ceiling roses
- How to Convert a Gas Blow Torch Into a Light Fitting
- How to repair a light that has a lamp inside and outside
-
-
Videos
< All Topics
Print
Kit 11 Installation Guide
PostedAugust 5, 2024
UpdatedAugust 5, 2024
ByRichard Hobbs
5 out of 5 stars
1 rating
| 5 Stars | 100% | |
| 4 Stars | 0% | |
| 3 Stars | 0% | |
| 2 Stars | 0% | |
| 1 Stars | 0% |
Views77
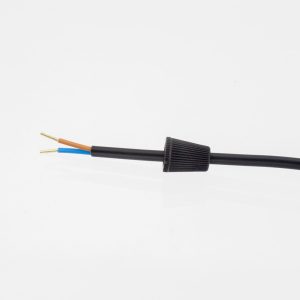
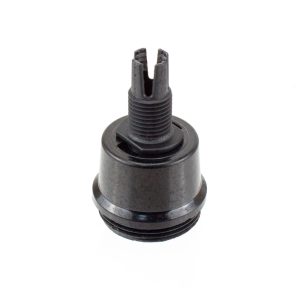
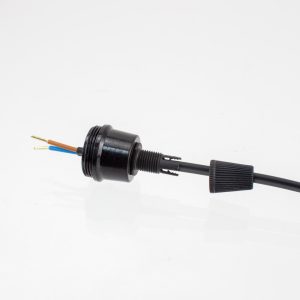
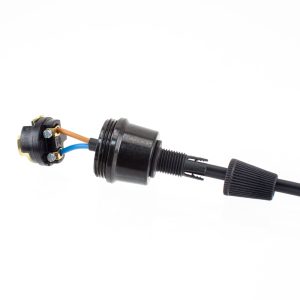
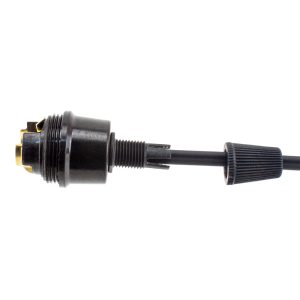
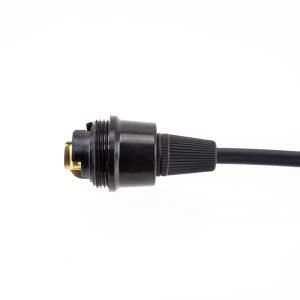
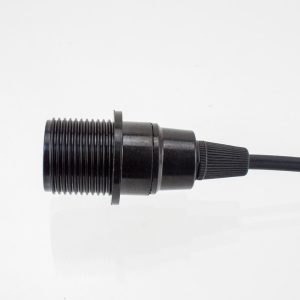
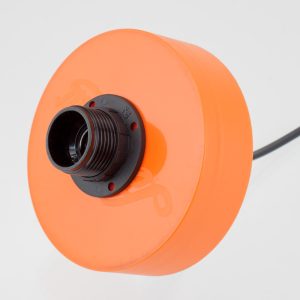
This step by step guide will aid you with the installation of our Kit11.
2 Step 2
6 Step 6
7 Step 7
8 Step 8
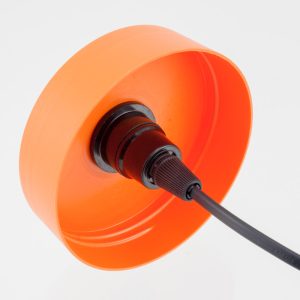
This now completes the kit installation from here you can now install the complete assembly onto your light fitting example below using the shade ring.
Was this article helpful?
5 out of 5 stars
1 rating
| 5 Stars | 100% | |
| 4 Stars | 0% | |
| 3 Stars | 0% | |
| 2 Stars | 0% | |
| 1 Stars | 0% |
5
