Welcome to our Support Portal. Search for answers using the search box below, or create a support ticket if you cannot find your answer.
-
Repairing a Lamp?
-
Product Info
-
-
- Installing Arditi Brand Metal E27 Lampholder's
- How to unlock my ES & SES Lampholder
- Installing Arditi Brand Plastic E27 lampholder's
- How to install our push fit E27 and E14 lampholders
- Wiring an E27 Pull cord Lampholder
- Wiring an E27 Switched Lampholder
- Installing S.Lilley Brand Metal E27 Lampholders
- How to Install our Lampholder Cup and Cord Grip
- Lampholder Bases explained
-
- Wiring A BC Un-Switched Lampholder
- Wiring An S.Lilley BC Switched Lampholder
- Wiring a Plastic BC Lampholder
- Installing the 40mm BC 4 Part Lampholder
- Wiring the BC Push Wire Plastic Snap on Cap Lampholder
- Safer switched lampholder not working
- Aligning a BC Unswitched Lampholder
- Lampholder Bases explained
-
-
- Kit 33 Installation Guide
- Kit 17 Installation Guide - ES Version
- Kit 32 Installation Guide
- Kit 21 Installation Guide
- Ceramic Side Entry Wiring Kit with a ES | E27 | Edison Screw Lampholder
- Ceramic Side Entry Wiring Kit with Unswitched BC | B22 Lampholder
- Kit 18 Installation Guide
- Kit 15 Installation Guide
- Kit 35 Installation Guide
- Plastic Wooden Table Lamp Fixing Kit With Backplate and Cover - BC Version
- Plastic Wooden Table Lamp Fixing Kit With Wood Nipple – BC Version
- Kit 12 Installation Guide
- Kit 11 Installation Guide
- Kit 8 Installation Guide
- Kit 1 Installation Guide
- Kit 21 Components
- Show Remaining Articles ( 1 ) Collapse Articles
-
-
Creating a Lamp?
-
- How to fix or install a lampholder onto a ceramic item with limited hand access.
- How to turn a bottle into a light fitting
- Measuring Bottle Hole For Bung Size
- Converting a Hong Kong Paraffin Lamp into a Table lamp
- Installing our ceiling roses
- How to Convert a Gas Blow Torch Into a Light Fitting
- How to repair a light that has a lamp inside and outside
-
-
Videos
Fixing a Lampholder to a piece of wood
2.3 out of 5 stars
3 ratings
| 5 Stars | 33% | |
| 4 Stars | 0% | |
| 3 Stars | 0% | |
| 2 Stars | 0% | |
| 1 Stars | 67% |
There are a few ways to fix a lampholder onto a piece of wood, here we will show you the options you can use.
There are 3 main fixing methods, however in addition to these 3 main methods there are batten lampholders with require no fixing to be installed prior, all explained below.
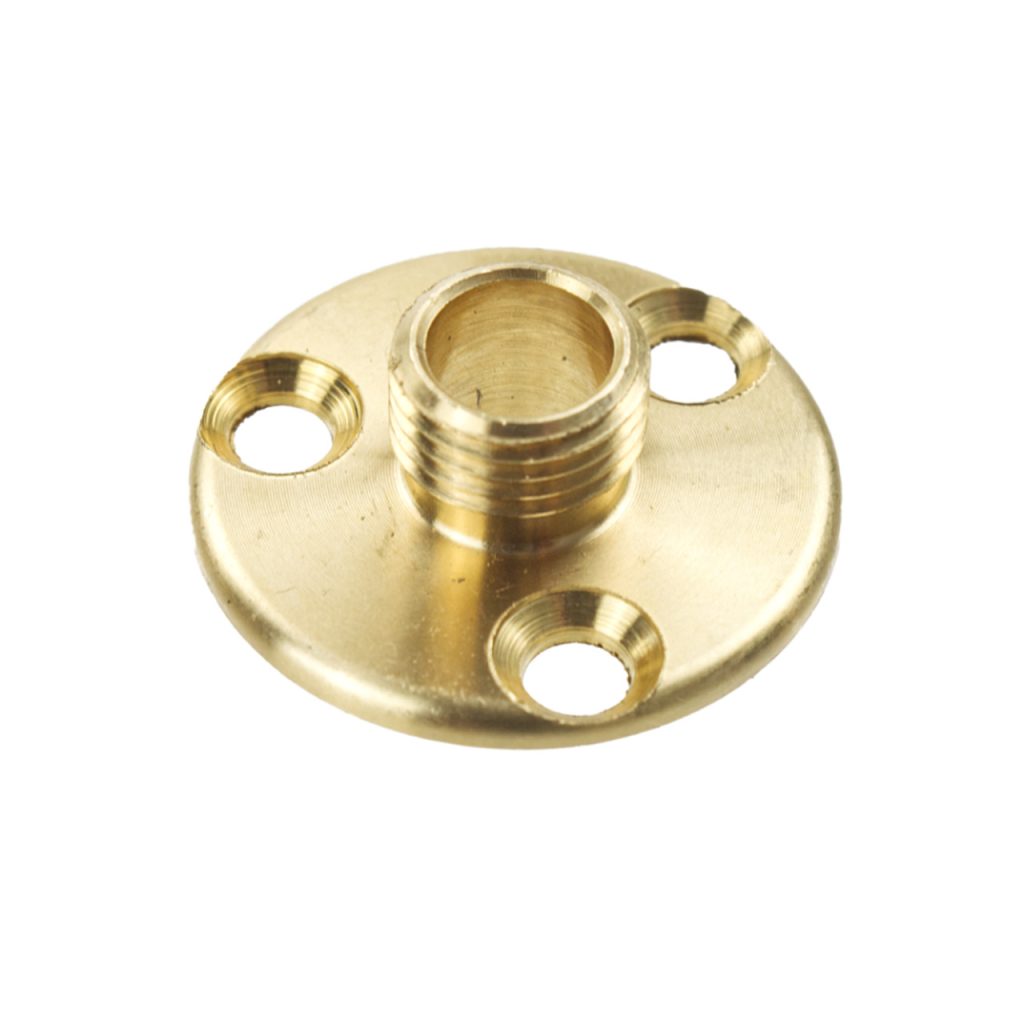
Backplate
This is a Brass 25mm plate with 3 fixing holder for countersunk screw.
The standard plate is 25mm in diameter and has a 10mm or 1/2" male thread in the centre dependent on the version you require.
Small screws needed, 3.5mm x 16mm countersunk or similar.
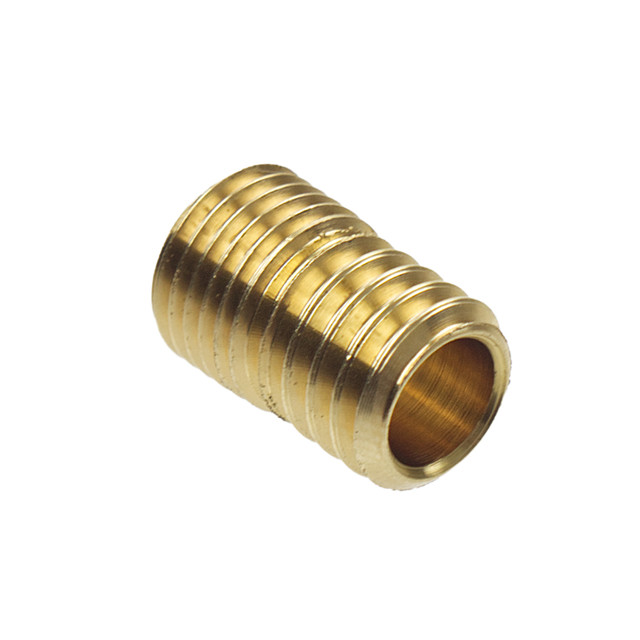
Wood Nipple
This wood nipple has a fine thread in one end to screw into the lampholder and a coarse thread in the other to fix into the wood.
With the nipples, you will ideally need to use a lampholder with a thread lock, so the lampholder can be locked onto the nipple to allow you to screw it into the wood.
These are good if you don't want to see the fixing item used to hold the lampholder.
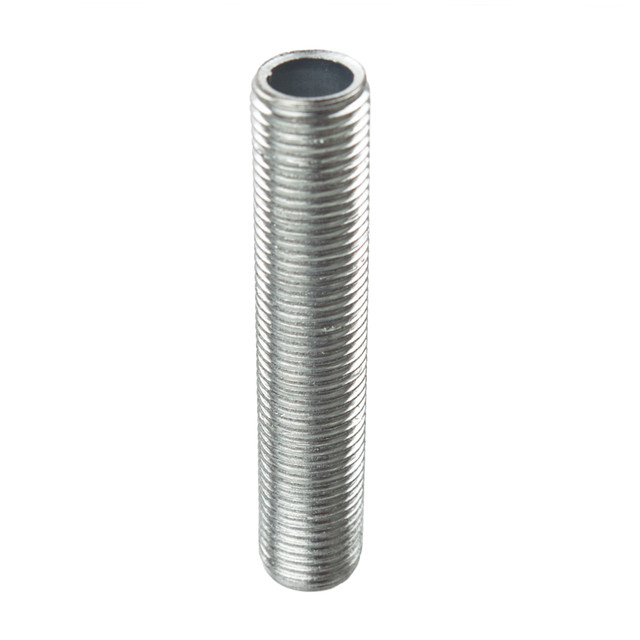
All thread rod
Normally 10mm diameter is used as there are lots of different lengths to choose from.
The great thing about these is stability. Ideal if you want to raise the lampholder above the wood.
You would drill a 9.5mm (need to test drill dependent on wood density) hole in the wood and glue it in place, ensuring the height is set right to add an all thread cover if raising the lampholder. Try to get as much as possible into the wood.
One benefit with this option is you can easily slide an all threaded rod cover over this if you want to extend the lampholder away from the wooden base.
Here are a couple of links:
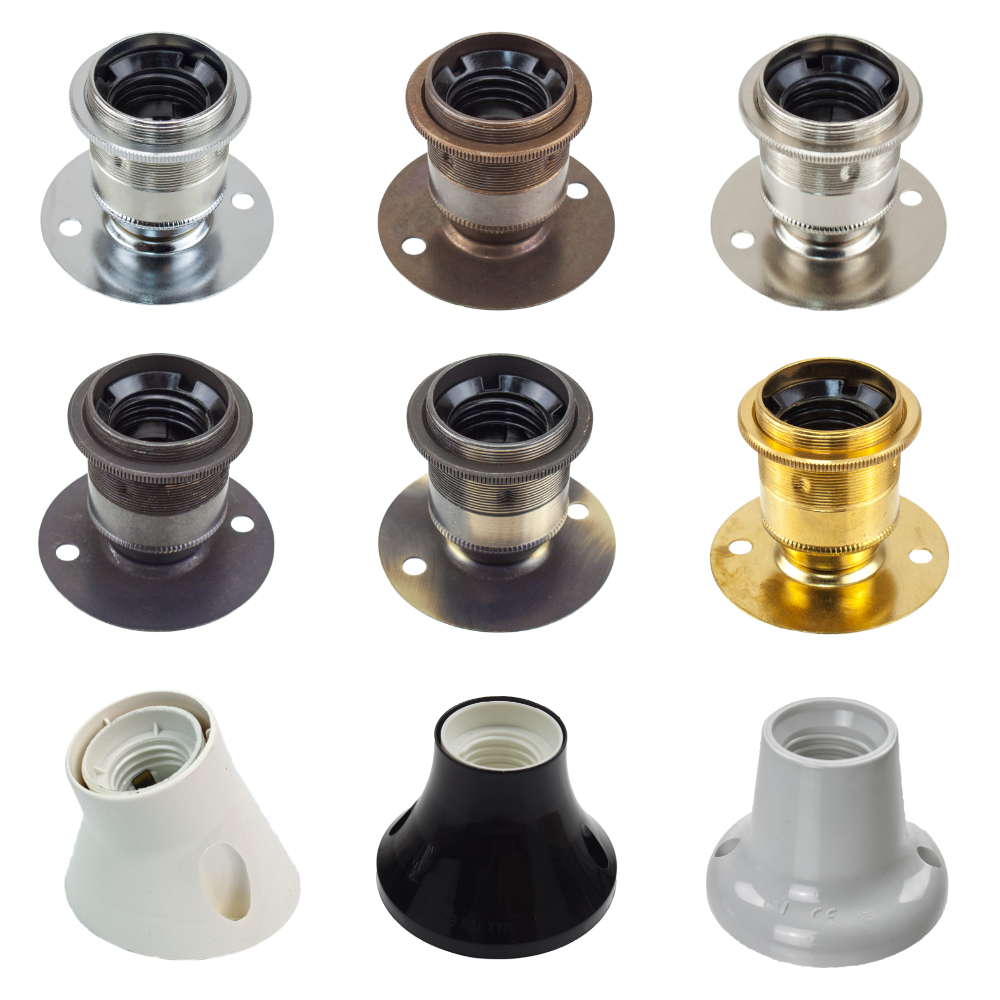
Batten Lampholder
Batten lampholders are lampholders with a wide round base with 2 or 3 fixing holes.
These have large bases, so not always something that can be used in all designs.
The main benefit with these is the ease of install, you do not need to install a fixing point first.
View our ranges below
2.3 out of 5 stars
3 ratings
| 5 Stars | 33% | |
| 4 Stars | 0% | |
| 3 Stars | 0% | |
| 2 Stars | 0% | |
| 1 Stars | 67% |


