Welcome to our Support Portal. Search for answers using the search box below, or create a support ticket if you cannot find your answer.
-
Repairing a Lamp?
-
Product Info
-
-
- Installing Arditi Brand Metal E27 Lampholder's
- How to unlock my ES & SES Lampholder
- Installing Arditi Brand Plastic E27 lampholder's
- How to install our push fit E27 and E14 lampholders
- Wiring an E27 Pull cord Lampholder
- Wiring an E27 Switched Lampholder
- Installing S.Lilley Brand Metal E27 Lampholders
- How to Install our Lampholder Cup and Cord Grip
- Lampholder Bases explained
-
- Wiring A BC Un-Switched Lampholder
- Wiring An S.Lilley BC Switched Lampholder
- Wiring a Plastic BC Lampholder
- Installing the 40mm BC 4 Part Lampholder
- Wiring the BC Push Wire Plastic Snap on Cap Lampholder
- Safer switched lampholder not working
- Aligning a BC Unswitched Lampholder
- Lampholder Bases explained
-
-
- Kit 33 Installation Guide
- Kit 17 Installation Guide - ES Version
- Kit 32 Installation Guide
- Kit 21 Installation Guide
- Ceramic Side Entry Wiring Kit with a ES | E27 | Edison Screw Lampholder
- Ceramic Side Entry Wiring Kit with Unswitched BC | B22 Lampholder
- Kit 18 Installation Guide
- Kit 15 Installation Guide
- Kit 35 Installation Guide
- Plastic Wooden Table Lamp Fixing Kit With Backplate and Cover - BC Version
- Plastic Wooden Table Lamp Fixing Kit With Wood Nipple – BC Version
- Kit 12 Installation Guide
- Kit 11 Installation Guide
- Kit 8 Installation Guide
- Kit 1 Installation Guide
- Kit 21 Components
- Kit 40 Installation Guide
- Show Remaining Articles ( 2 ) Collapse Articles
-
-
Creating a Lamp?
-
- How to fix or install a lampholder onto a ceramic item with limited hand access.
- How to turn a bottle into a light fitting
- Measuring Bottle Hole For Bung Size
- Converting a Hong Kong Paraffin Lamp into a Table lamp
- Installing our ceiling roses
- How to Convert a Gas Blow Torch Into a Light Fitting
- How to repair a light that has a lamp inside and outside
-
-
Videos
-
Customer Projects & Inspiration
- Articles coming soon
How to turn a bottle into a light fitting
5 out of 5 stars
1 rating
| 5 Stars | 100% | |
| 4 Stars | 0% | |
| 3 Stars | 0% | |
| 2 Stars | 0% | |
| 1 Stars | 0% |
Looking to turn a bottle into a light fitting?
This concept is extremely popular as people are turning their favourite Gin bottle into a light for themselves or as a gift for a relative.
So, the question is how can i make a great bottle light fitting i hear you ask?
There are 2 questions a lot ask… to drill or not to drill?
We cannot make this decision for you, but we do have the parts for either option!
Let cover drilling first, I personally have drilled a lot of gin and wine bottles for myself and for family members as they are scared to do so, with an extremely high success rate.

However, there is always that one that will chip or worse, smash!
Luckily for you, I have put a video together explaining how I drill a bottle, which can be found below.
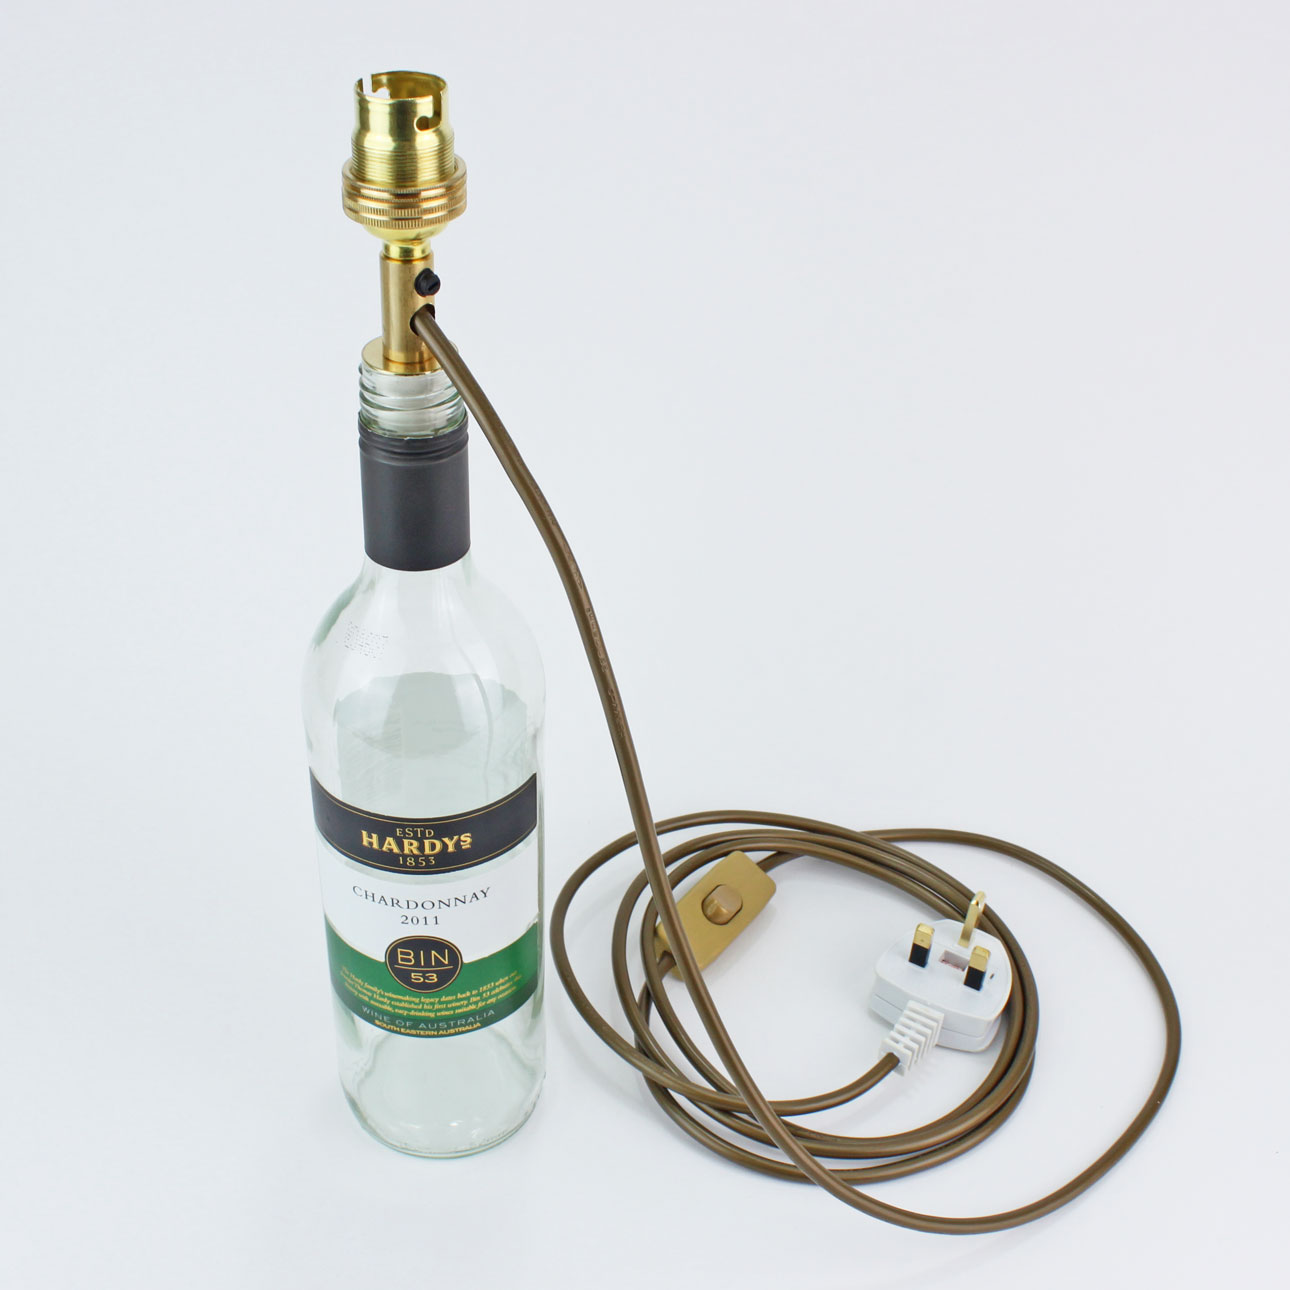
Once this has been achieved you can simply go for our popular kit 21, this being a basic kit using a metal lampholder and a standard PVC flex.
Want the online guide for wiring kit21?
Alternatively, you can make your own “Kit” to make your light fitting bespoke and a one off unique lamp you won’t find anywhere else.
Here is a quick breakdown of the core components needed. (click on the links below)
Lampholder – This can really vary as we have lampholders with switches or without, then we have Bayonet cap or Edison Screw Tip: Ensure the lampholder states 10mm
Bung – We have several sizes here is a guide on how to measure a bottle to get the bung size tip: Try to go for the bungs between 16-18mm and 22-24mm – The 10mm entry lampholder will screw straight onto this.
Bung Cover – As the title states, this will cover the brass on the bungs between 16-18mm and 22-24mm Tip: Again ensure the cover states 10mm
Grommet – Simply protects the cable as it passes the potentially sharp glass.
Cord Grip – Only really one type of cord grip that will work the best to be honest.
Cable – Browse all of our stunning 3 core braided cables.
Switch – This is if you have Not opted for a switched lampholder. Tip: Single Pole means the switch will only switch the Live cable | Double Pole means the switch will switch the Live and Neutral wires.
Plug top – Standard UK 3 pin plug top.
OR
Custom Cable – Let us do the hard work of installing the switch and plug top for you, ensuring you receive a high quality, safe cable.
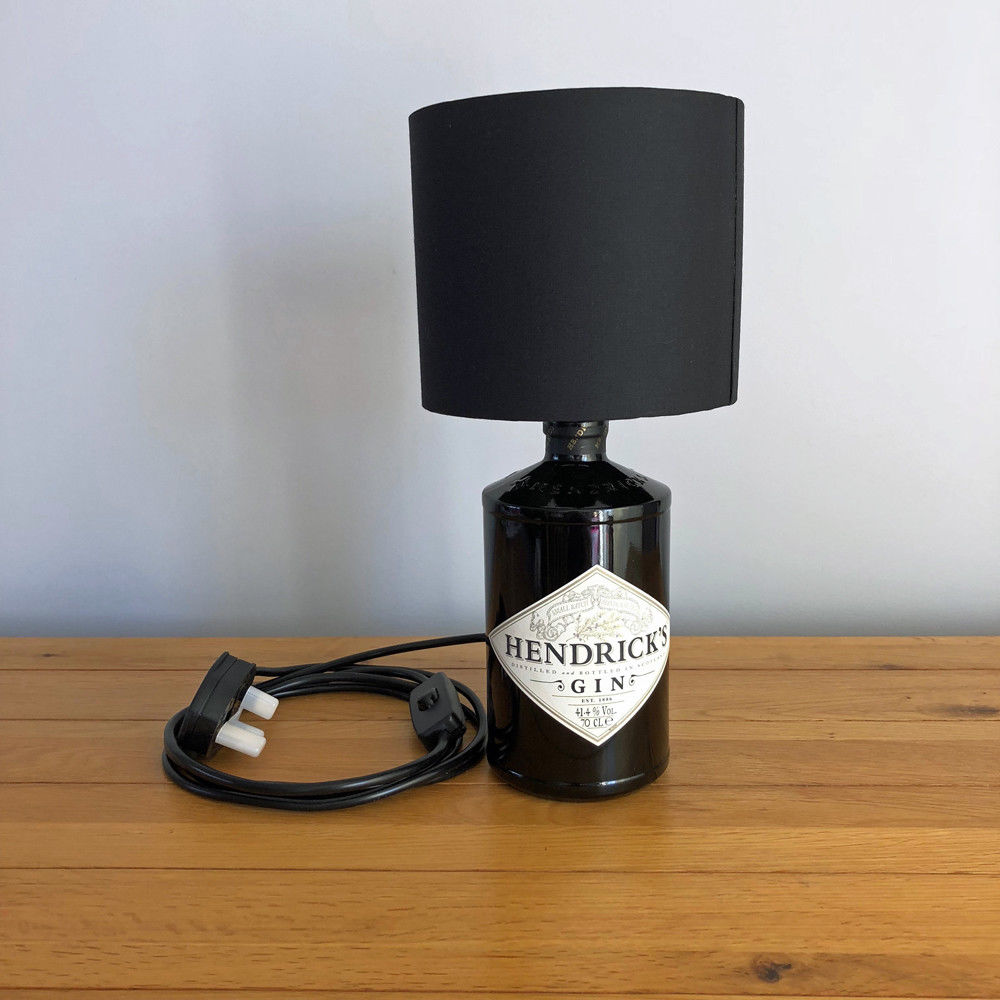
So that covers the options for drilling the bottle now let’s talk about the option if you are worried about potentially breaking the glass.
The concept is almost the same except you don’t need a grommet or cord grip oh and the fact you don’t smash any expensive bottles 🙂
We have an off the shelf kit called Kit 32 (as seen above)
If you do decide to use that kit, you WILL need to still choose a Bung as above.
However, again if you want to stand out from the crowd then the following items will cover the base components.
Lampholder – This can really vary as we have lampholders with switches or without, then we have Bayonet cap or Edison Screw Tip: Ensure the lampholder states 10mm
Side Entry Cord Grip – This is the item that will allow the cable to enter the lampholder without going through the bottle. Tip: Ensure it states 10mm
Bung – We have several sizes here is a guide on how to measure a bottle to get the bung size tip: Try to go for the bungs between 16-18mm and 22-24mm – The 10mm entry lampholder will screw straight onto this.
Bung Cover – As the title states, this will cover the brass on the bungs between 16-18mm and 22-24mm Tip: Again ensure the cover states 10mm
Cable – Browse all of our stunning 3 core braided cables.
Switch – This is if you have Not opted for a switched lampholder. Tip: Single Pole means the switch will only switch the Live cable | Double Pole means the switch will switch the Live and Neutral wires.
Plug top – Standard UK 3 pin plug top.
OR
Custom Cable – Let us do the hard work of installing the switch and plug top for you, ensuring you receive a high quality, safe cable.
And that’s it, really much easier and less scary than getting the drill out on your bottle.
As I say these above links are for the basic core components, you can go further by extending the distance from the bung or side entry cord grip to the lampholder by using an extender or if you are looking to change the angle slightly then the adjustable parts will work.
As long as everything states 10mm, then all of these items will simply screw together.
5 out of 5 stars
1 rating
| 5 Stars | 100% | |
| 4 Stars | 0% | |
| 3 Stars | 0% | |
| 2 Stars | 0% | |
| 1 Stars | 0% |